Learn how to make a Food Blog Photography cart, perfect for setting up all your food photo shoots, AND storing all your props, boards, and other food photo stuff with this simple tutorial.

This post is sponsored by Beyond Paint. I was provided with product and am being compensated for this post. All photos, the project, and opinions here are my own.
Want to PIN THIS PROJECT? Click Here.
Food blogging is a weird job. From the outside looking in, it probably looks super simple – cook some food, snap a few photos, type some nonsense about said food, share with friends. Repeat.
And at it’s foundation, I guess it is just that simple. But the truth of it is that in each of those pieces – ‘cook some food’, ‘snap some photos’, etc – there are about a zillion tasks, and the learning curve is steep. I’ve been at this since 2011 and I still have entire days where I feel like I have no idea what I’m doing. But! I have also learned some tricks and created some solutions along the way that have made this weird job easier, so naturally I want to share them.
This Food Blog Photography Cart is probably one of my favorite solutions.
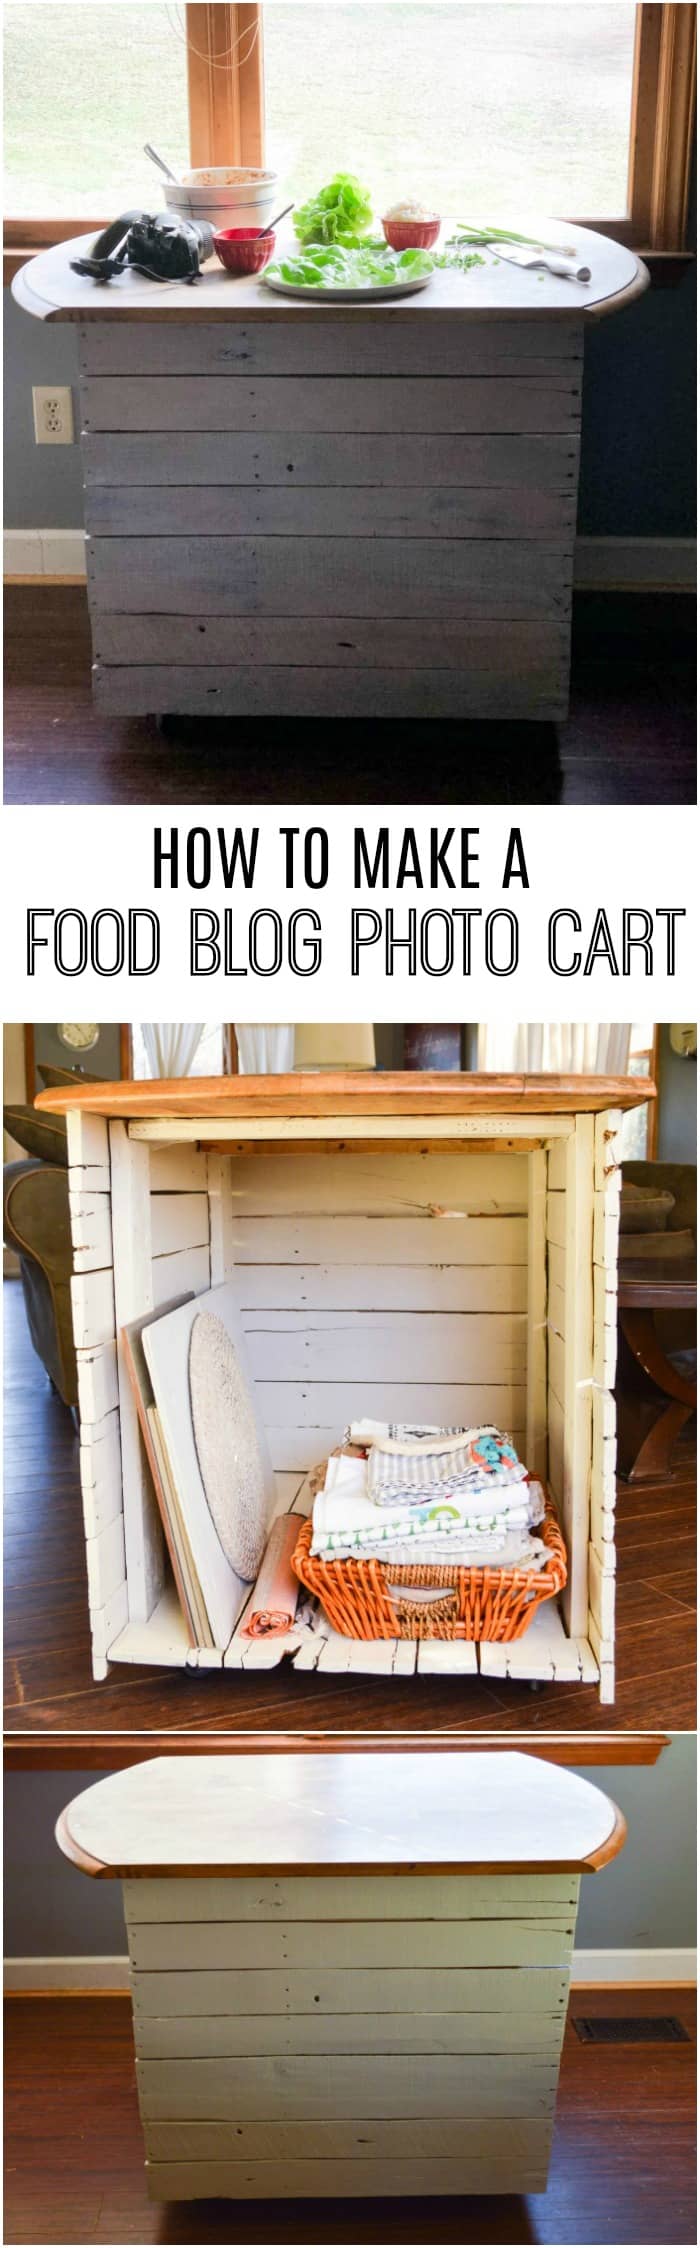
And fear not! If you aren’t a food blogger this Food Blog Photography Cart is still incredibly handy! I actually use it for alllll sorts of things. It serves as an appetizer/dessert buffet on holidays. It’s got a big open cabinet that’s perfect for storing everything from cake stands to extra pillows and blankets. You can also use it to hide all the clutter when you are fast-cleaning before people show up at your house, not that I would know anything about that.
It’s got wheels! So you can really just roll it around where you need it. I’ve used it as a makeshift bar for parties, a worktable for messy arts and crafts, a table for two when we have extra people here that don’t fit all the other places, a sideboard, the place for all the pizza boxes – this thing is probably the most functional piece of furniture in my house.

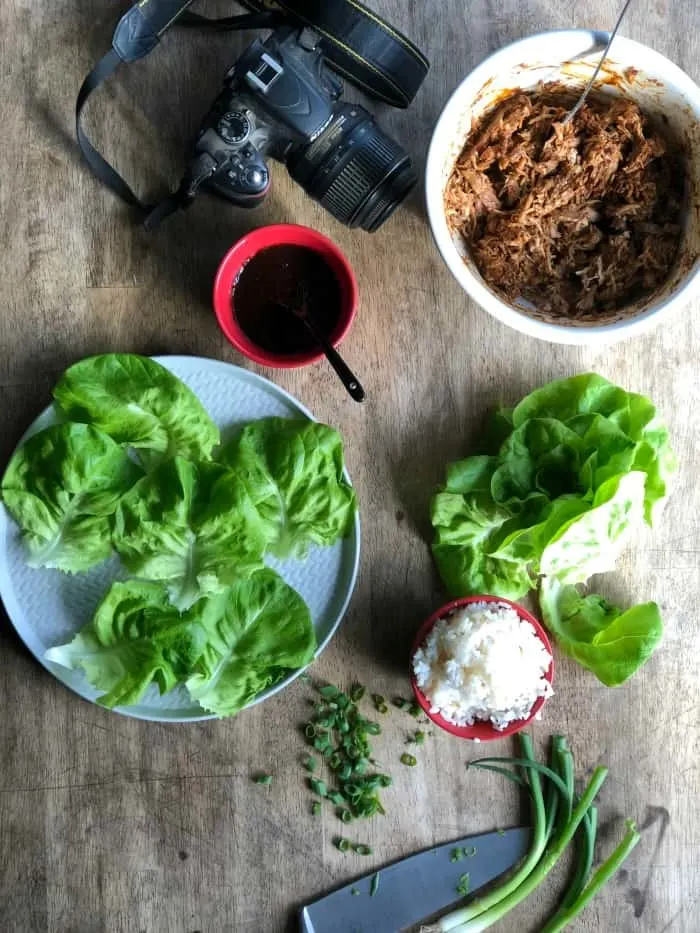
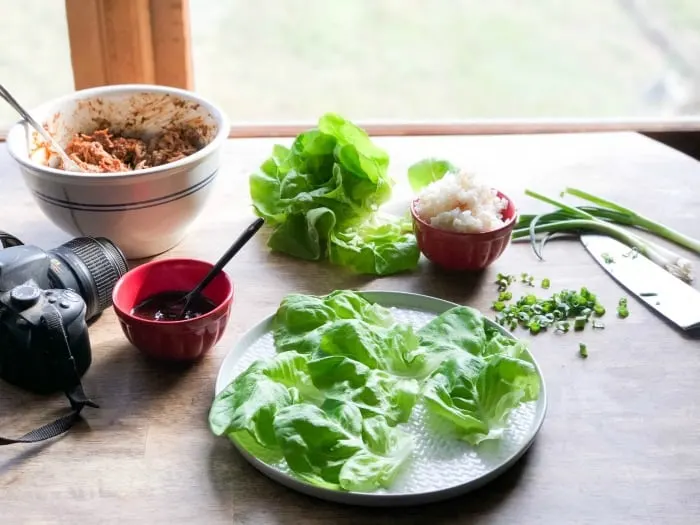
I have taken alllllll the photos on Sugar Dish Me using this photography cart for the last 3+ years. The casters let me easily relocate and follow the light, depending on the time of year or time of day. The big open cabinet space gives me a place to store all my big clunky boards, surfaces, reflectors, and linens.
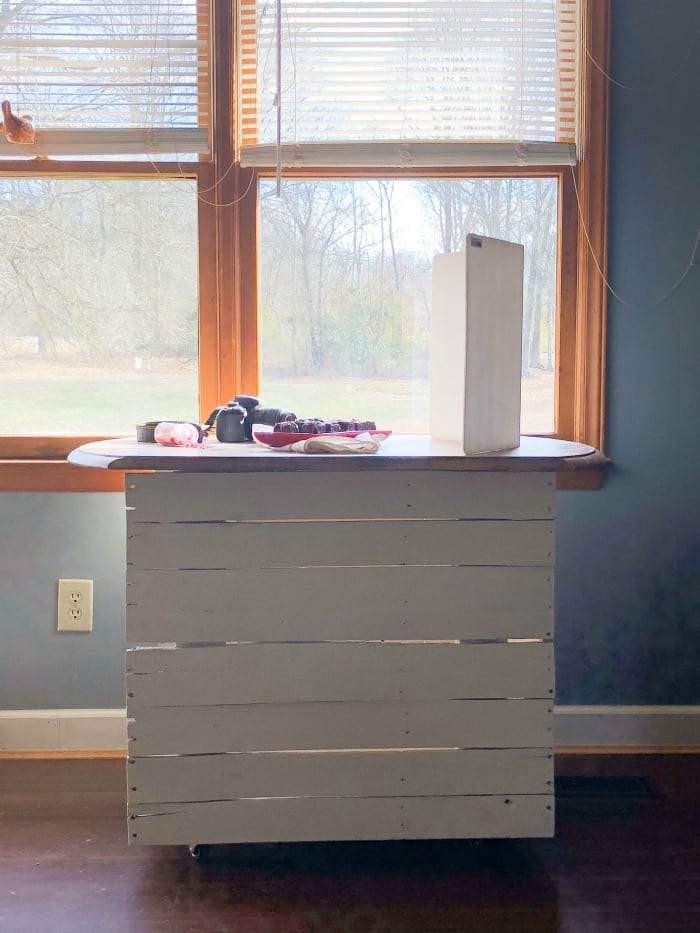
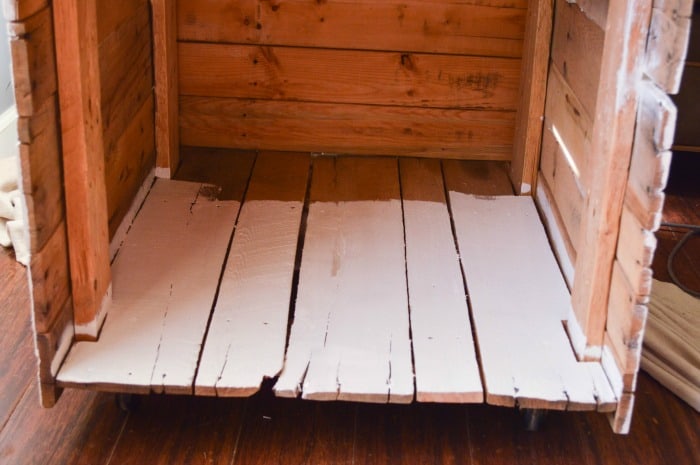
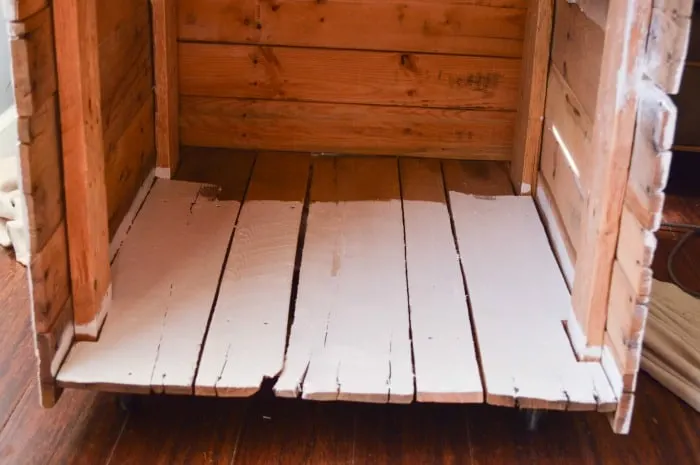
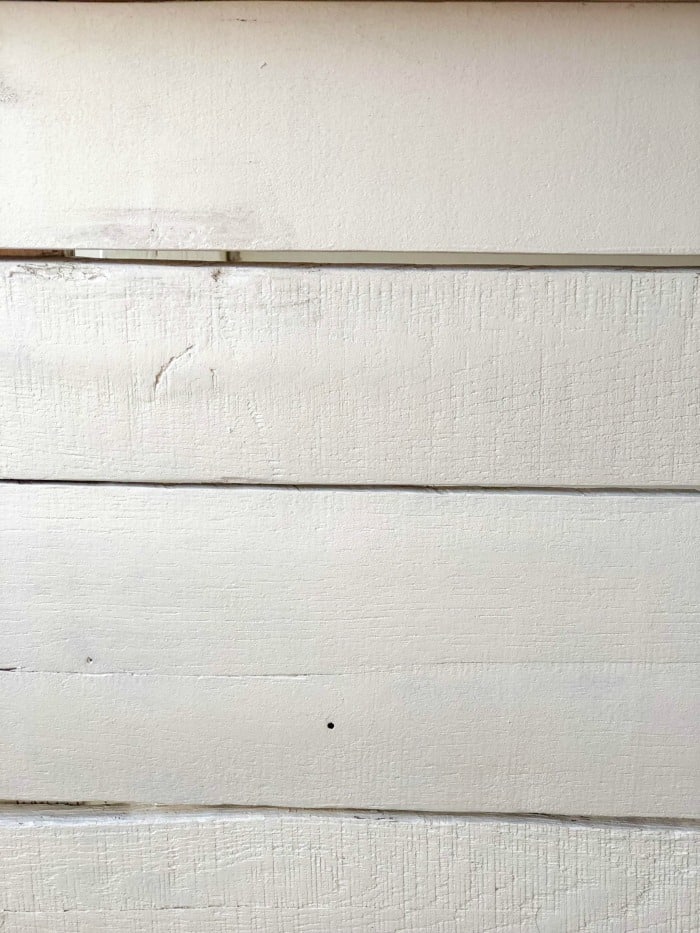
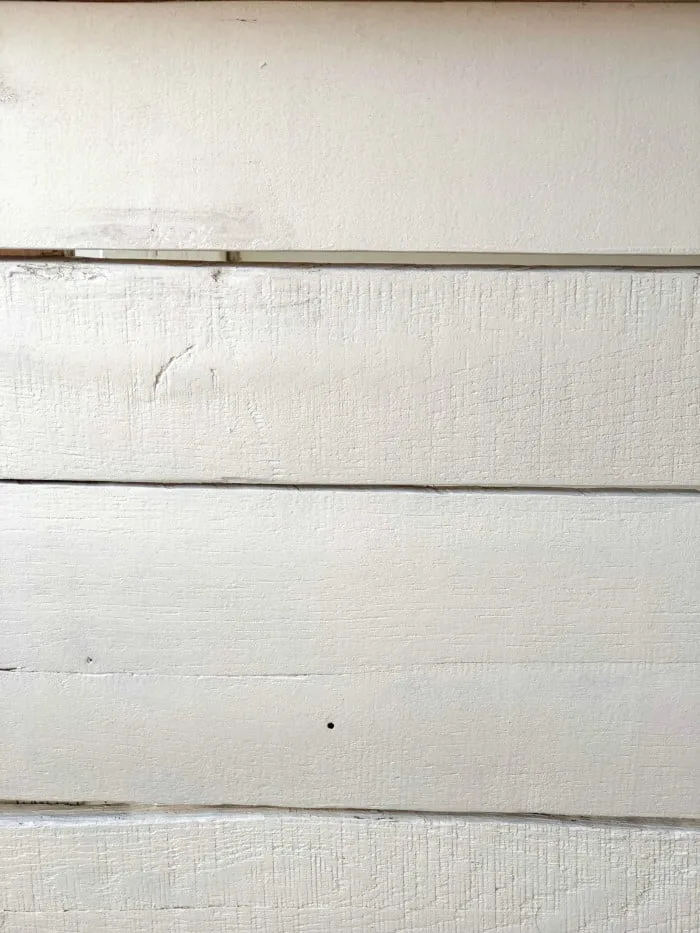
Since the top is made out of an old kitchen tabletop it’s the perfect amount of weathered, plus it’s super sturdy. That tabletop is actually pretty near and dear for me; it’s the top off of my very first kitchen table that I bought at a consignment shop when my kids were so small.

You can see that we opted to make this out of pallet wood, which means that aside from the required screws and the casters, this photography cart was pretty close to free.
I will say that pallet wood makes things a little more time consuming. There are more splinters, more sanding, and just more prep work in general.

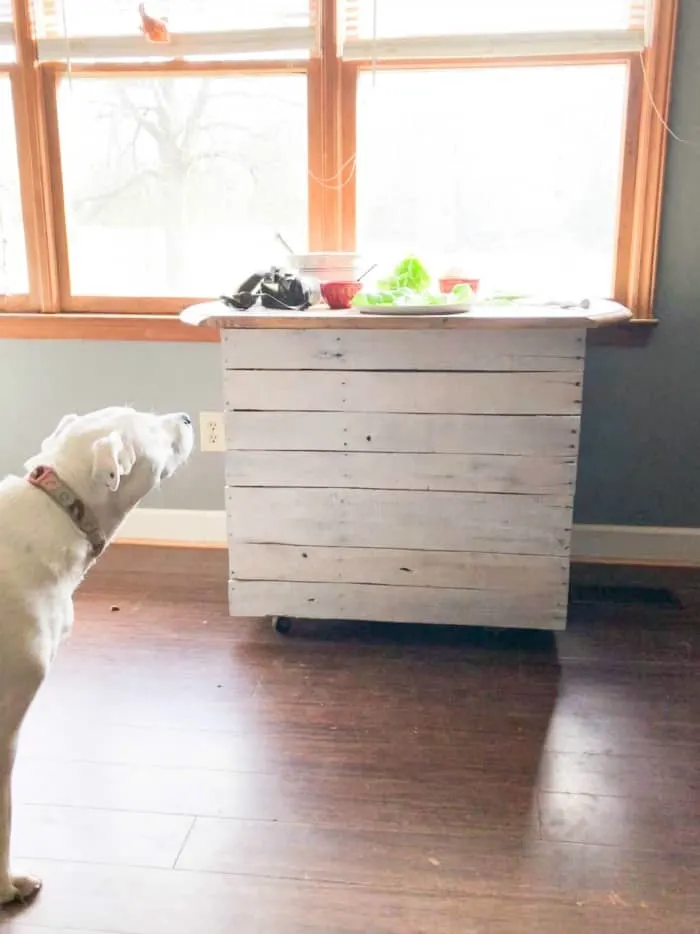
(cameo from Annie)
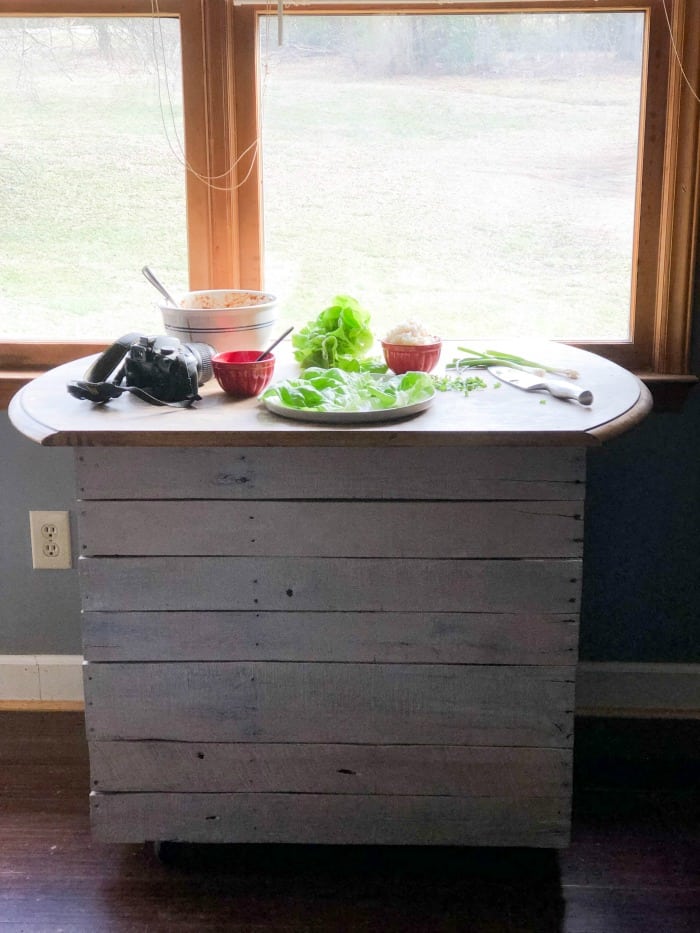
I left the wood on this cart in its natural sanded pallet-wood state for the last couple of years. Then just before the holidays this past December I tried this white-washing technique which was fine, but I wasn’t in love with it.
So I decided this photo cart was the best candidate for trying out this Beyond Paint Makeover Kit. I have to say I am beyond impressed.
I paint ALL the things around here. Walls, fireplaces, ceilings, bricks, stairs, cabinets, furniture – you name it, and I have probably painted it.
Painting furniture and cabinetry is usually a #1 pain in the rear. There’s an infinite amount of prep work involved and it usually takes a couple of days to prime, let the paint dry, and then paint, let THAT paint dry, and then go at it with that last coat.
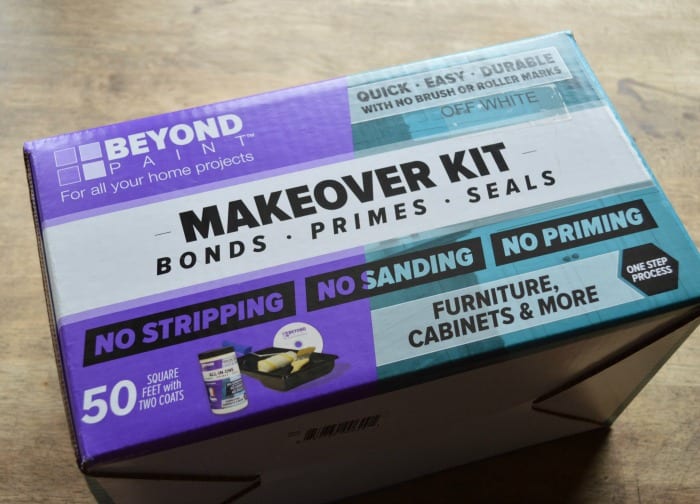
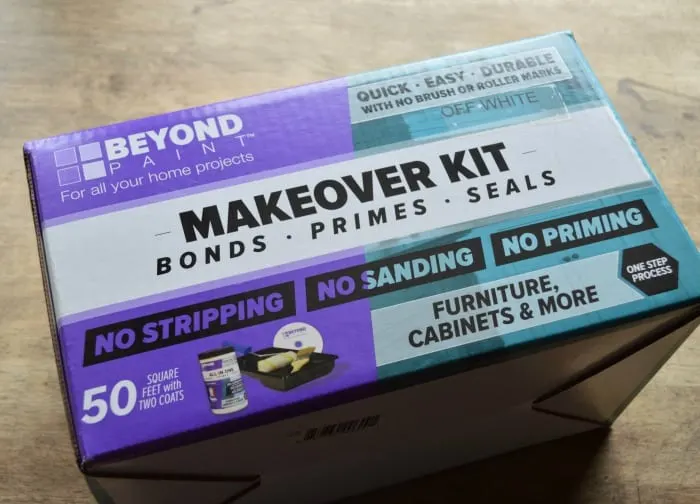
Beyond Paint’s Makeover Kit solved all of that. Everything in one box! The tray, the roller and brush, and the paint! It’s excellent for all kinds of surfaces: tile, plastic, laminate, linoleum, wood, metal, varnish, and of course, PALLET WOOD.
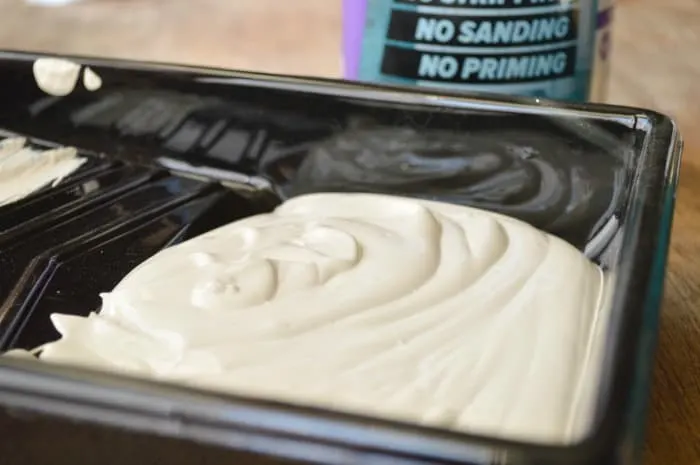
The jar is impossibly small. I was wondering if I had enough for this project, especially because the actual paint is THICK. (spoiler: I had plenty plus some leftover) One quart covers 50 square feet.

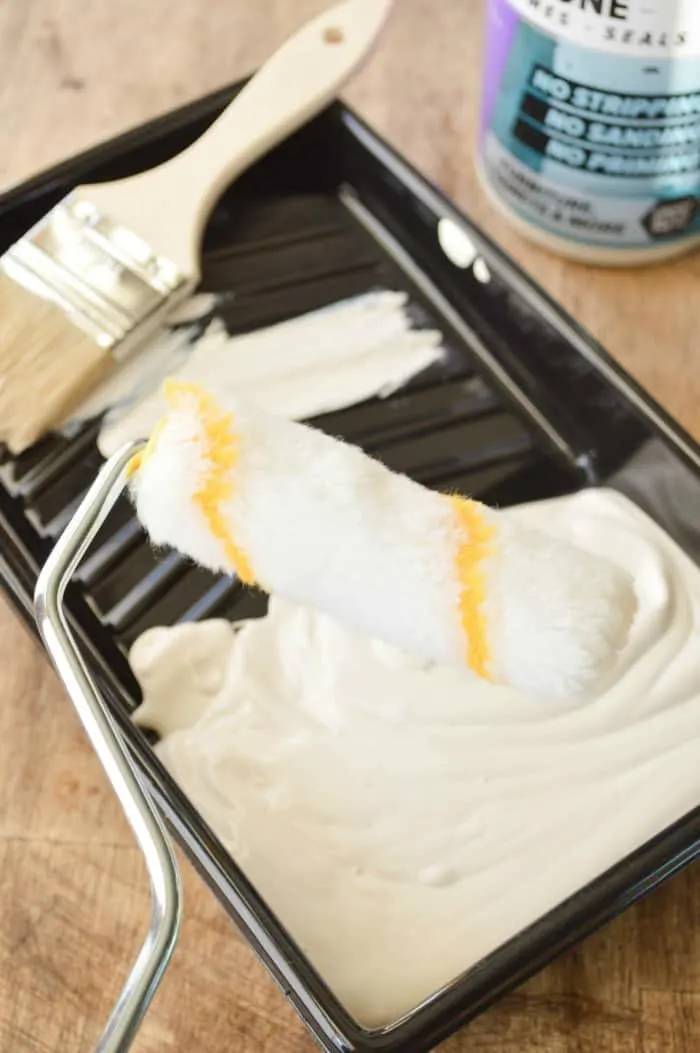
Much thicker than your average paint. It’s thick like pudding! This is totally normal.
And probably explains how it bonds, primes, and coats all in one step.
There’s no need for mixing or stirring (YES). And the low VOC [minimal odor] makes this safe for pets and people.
The only prep-work recommended is a good cleaning of your piece before you get started. Beyond Paint recommends mineral spirits or a good degreaser, such as Simple Green or Zep degreasers. DON’T USE DISH SOAP or anything that could potentially leave a residue that might prevent the paint bonding with the surface.
If you’re painting pieces like kitchen cabinets, this is especially important to remove all of the residues, oils, grease and general gunk that builds up on them over time.

Pallet wood can be tricky; it tends to soak up ALLLL the paint or stain and usually requires multiple coats.
You can see how bright the color is here with just the first coat. You only need 2-4 hours in between coats and it will be dry to the touch/ready for a second coat if you decide you need it.
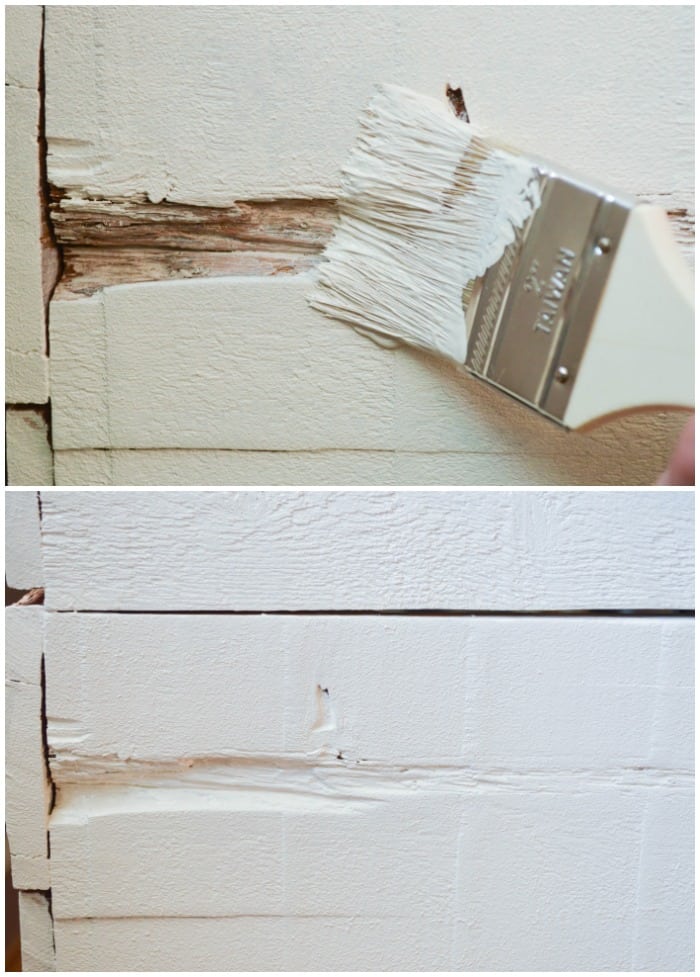
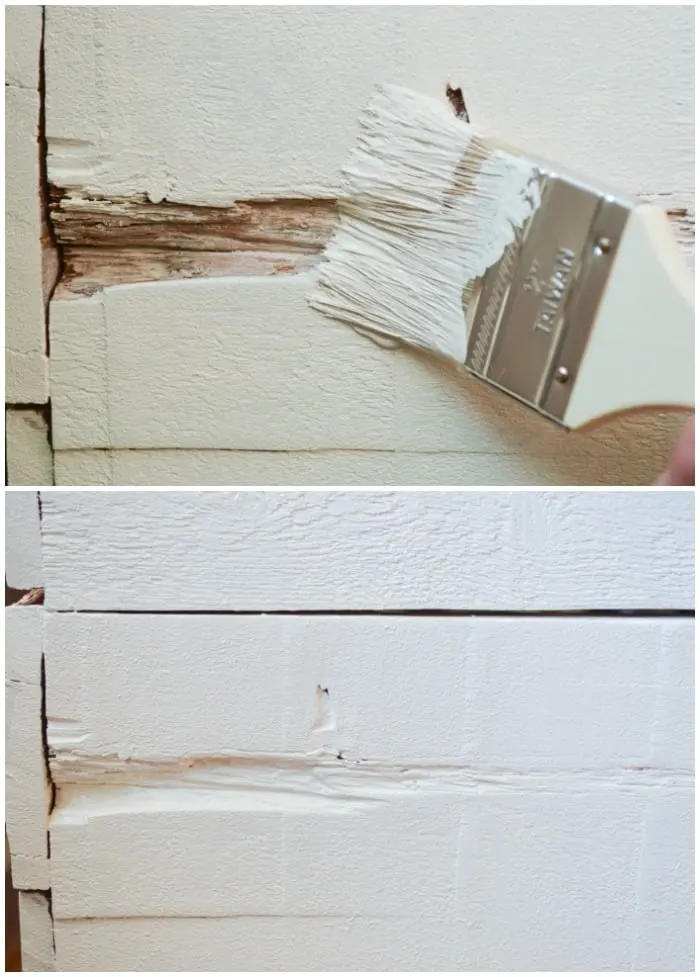
The roller is recommended for even coverage and then you really only need the brush for stippling in hard to reach/uneven surfaces.
The result is fresh and smooth and I love this piece even more now!
Okay so let’s talk assembly. I am fortunate that my husband is handy. So I dreamed up this design and he made it happen. Since we re-purposed a tabletop, our initial measurements were based on that, but I am going to break down the basics here for you.
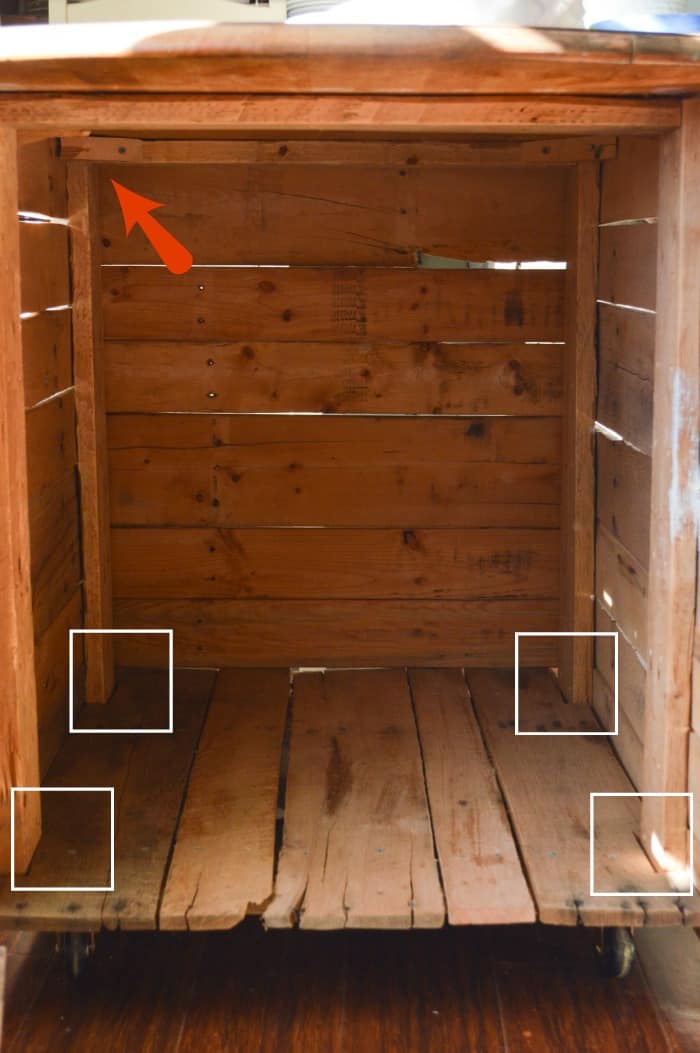
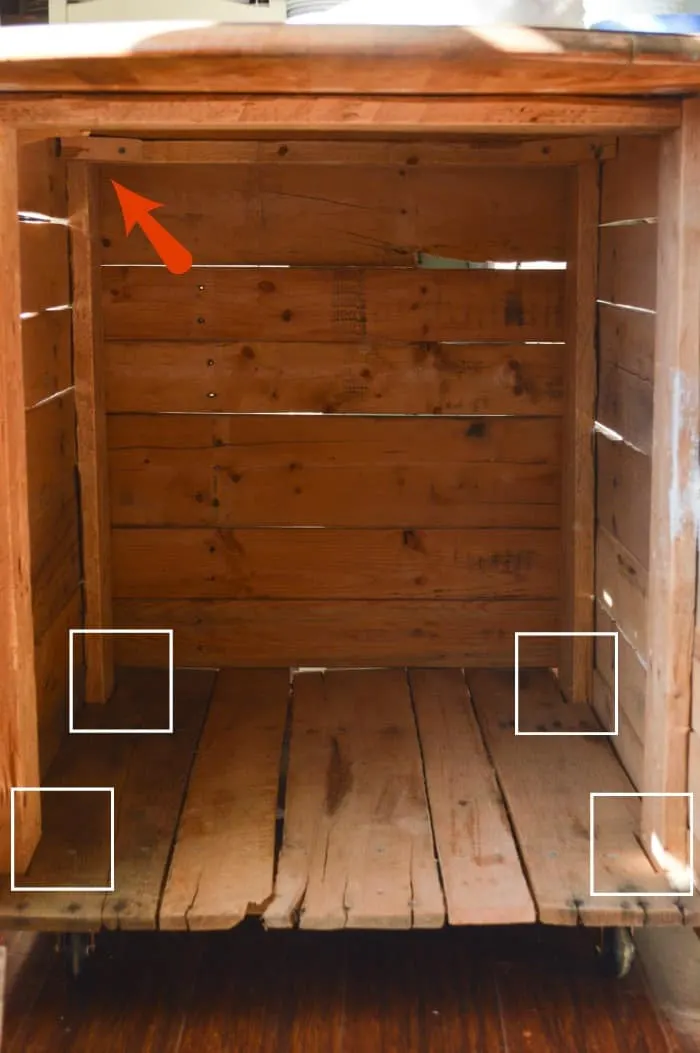
There are two rectangular frames that make up the bones of this piece. We used 2 X 4’s to build the frame, and you can see that at the bottom the frame goes through and underneath. That’s so we could attach the casters. It also provided for extra bracing.
Standard table height is 30″ so we started with that, subtracted the height of the casters (mine are small-ish and don’t have brakes like these here ), accounted for the thickness of the wood at the top and bottom (did you know that 2 X 4’s are actually 1.5″ X 3.5″ ??) and made our cuts from there.
We notched the bottom board on either side to make room for the frame to pass through.
Then if you notice the arrow in the image above, there are triangular braces at each inside corner.
The tabletop (and actually all the pieces of pallet wood, bottom and sides) is attached from the inside; TAKE CARE TO FIND THE RIGHT LENGTH FOR YOUR SCREWS. You want this thing to be sturdy and stand up to years of abuse like mine has, and you definitely don’t want screws poking out everywhere.
Beyond Paint comes in a variety of colors (I chose their Off White for this project) and I highly recommend it! You can find it at the Beyond Paint website and in participating Ace stores, and on acehardware.com.

Food Bloggers! Where do you take your photos?
How to Make a Food Blog Photography Cart
Learn how to make a Food Blog Photography cart, perfect for setting up all your food photo shoots, AND storing all your props, boards, and other food photo stuff with this simple tutorial.
Materials

Megan Seelinger
Monday 28th of May 2018
Wow what a great idea! I just sent this to my hubby so he can get right on it ha ha!
Heather Tullos
Monday 28th of May 2018
Thanks, Megan! I seriously use this cart for EVERYTHINGGGGG
Urvashee
Thursday 8th of February 2018
I love that you made storage space for all the props! My pops are all over the place- cabinets, drawers, pantry etc. What a great idea!
Heather Tullos
Thursday 8th of February 2018
Thanks, Urvashee! I actually made Chad build me a whole huge shelf out of wood and metal plumbing pipe. It's floor to ceiling and stacked with props and dishes and all kinds of things. One day I will get it together and share that too. You can see it here: https://www.instagram.com/p/BQGe729g_r-/?taken-by=sugardishme
Amber
Thursday 8th of February 2018
This is so stinking cool. This is the second time I've seen a post about Beyond Paint from one of my favorite bloggers, and I am intrigued. I definitely want to try this on our kitchen cabinets. The nantucket blue-gray is right up my alley.
Heather Tullos
Thursday 8th of February 2018
You should totally try it! I wanted all the colors but decided to match the rest of my house. I am going to buy a fun color and paint a table or something. Spice things up.
Susannah // Feast + West
Thursday 8th of February 2018
This is the coolest idea! I take all my photos on a backdrop that I put on the kitchen table, so when I take photos it often means I can't use the kitchen table. Hah. I'd love to make something like this!
Heather Tullos
Thursday 8th of February 2018
Thank you so, Susannah! This thing saves me daily. It is also perfect for shoving all the things in when I am done and pretending to clean.
Prudy
Thursday 8th of February 2018
Heather! This is sooo brilliant! xoxoxoxo
Heather Tullos
Thursday 8th of February 2018
Hi Prudy! So glad to hear from you! It's been awhile! Thanks so much <3