How to Makeover a Charcoal Grill! Tips on cleaning, care, and the replacement parts you need to keep on cooking.
This post is a quick fix. There’s a longer tutorial coming later this year, when outside stops feeling like the surface of the sun. I put together this tutorial for when the good weather sneaks up on you, and you realize you left your grill in shambles at the end of last summer.
This is How to Makeover a Charcoal Grill when you’ve been busy AF, don’t have time for a project (or for paint to dry), but you need a BBQ Chicken Sandwich, stat.
Let’s start by talking about what grill.
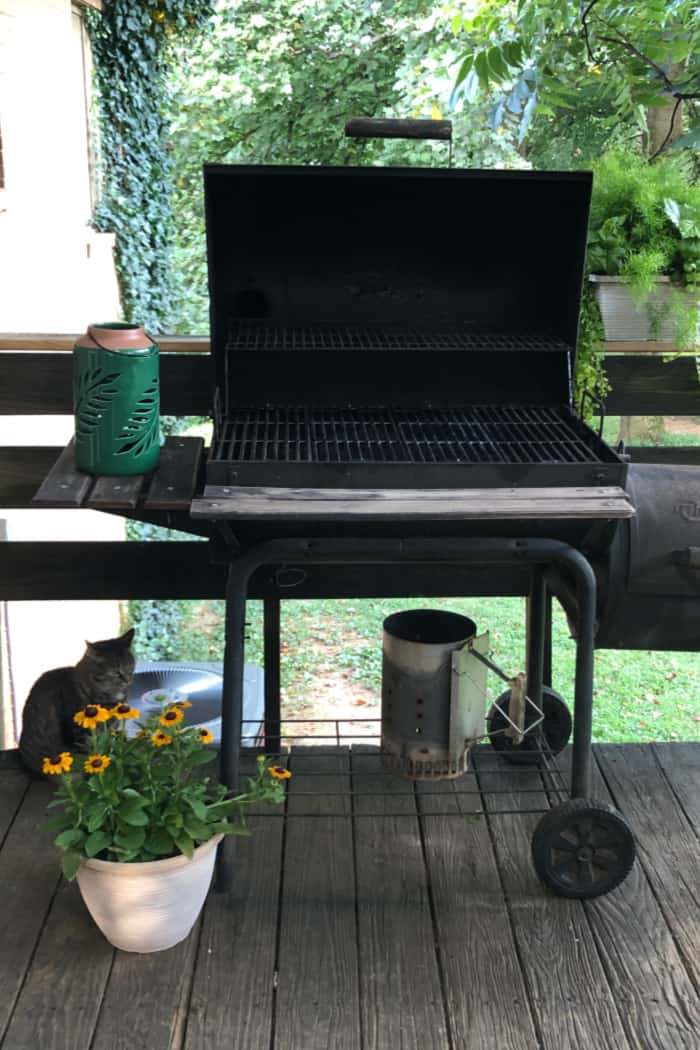
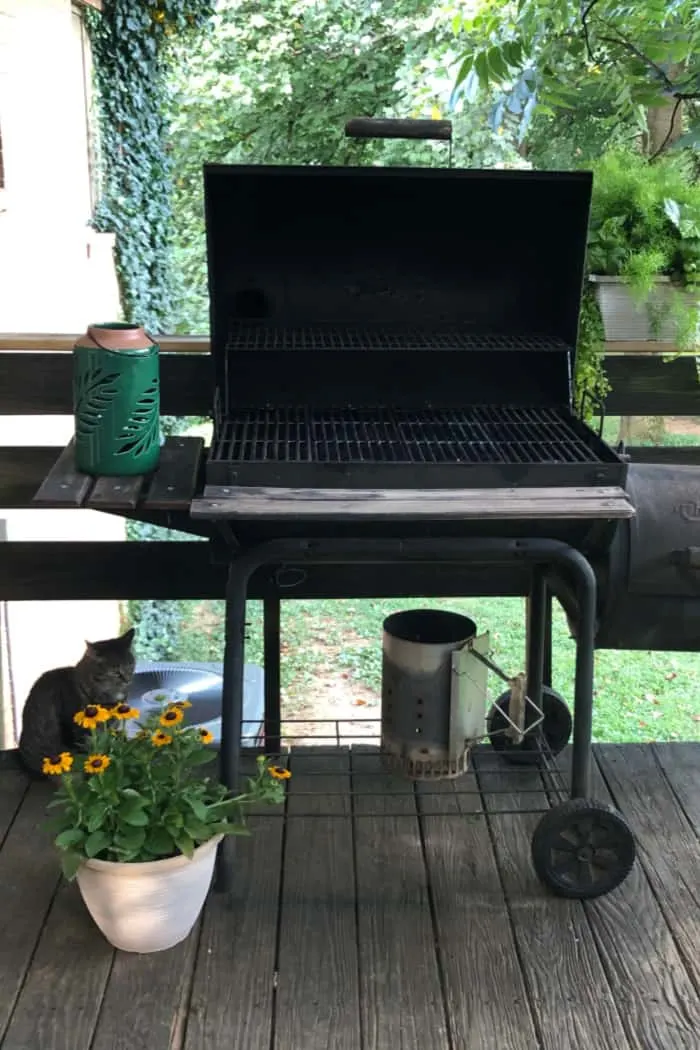
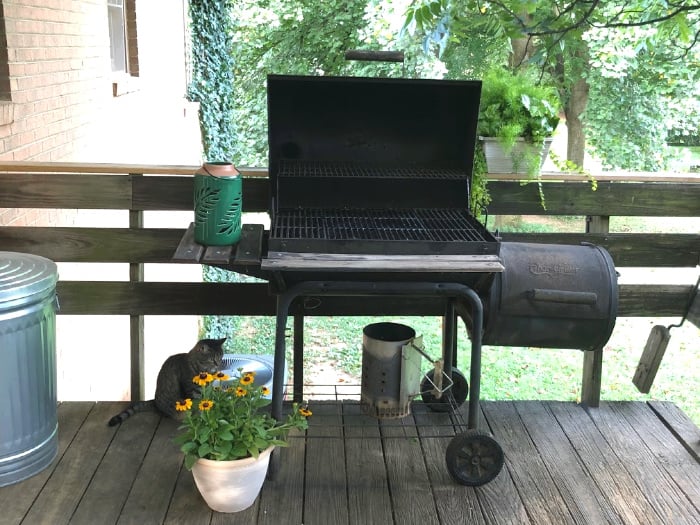
The answer is This grill. The Char-Griller Super Pro.
If you don’t own one now, I am betting at least half of you did at one time. It’s not too big, not too expensive, not too hard to find at most big retailers, and not too tricky to haul home. The Char-Griller Super Pro is easy to cook on; I have made many a meal on this thing.
Cast iron grates and heavy ash pans are not the easiest things on earth to clean, though.
We bought our grill in 2014, right after we bought our house, and after 5 years of SERIOUS wear and tear, lots of burgers, grilled Brussels sprouts, and our fair share of Carolina Style Hot Dogs, this grill was looking pretty rough.

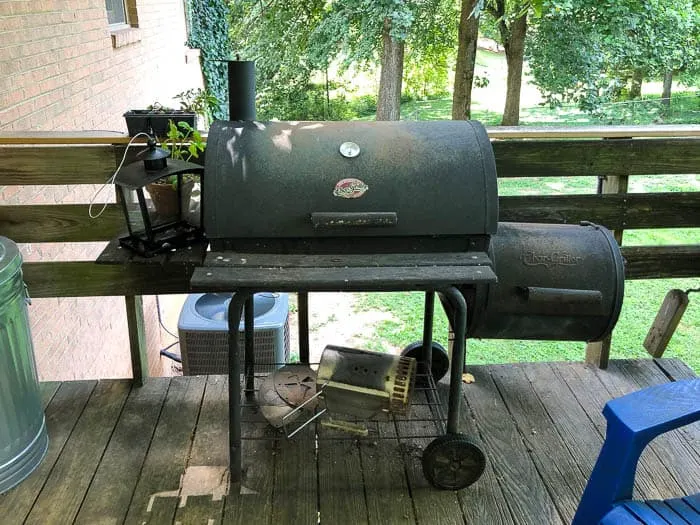
I’ve seasoned the grates multiple times, and have dumped the ash pan more than I care to recount. We have plans down the road for a bigger grill on a bigger deck, along with a whole slew of other fab-o backyard things, but for right now, I’d like to leave good enough alone and keep cooking on this trusty Char-Griller for awhile.
I’m not into waste – I hate the thought of tossing a perfectly good thing that still works, so I started poking around for the right replacement parts to make our grill last just a little bit longer.
Basic Grill Maintenance
You can save yourself a boatload of trouble by taking some precautions before and after cooking.
- Lightly oil the grill before cooking! Canola oil is a good option. You probably have it handy and it has a high smoke point (more than 400°F)
- While the grill grates are still warm, but not blazing-singe-off-your-arm-hairs hot, scrape off any charred bits and food particles
NO WIRE BRUSHES! Even on cast iron, recommendations have shifted in the last year because the bristles from wire brushes can break off, stick to your grill grates, and find their way into your food. I like the FEROS Safer Scraper because it’s safe and it also works on cast iron as well as porcelain. You can also use it to oil the grill, so it is handy with that first tip as well. - After the grill has completely cooled, wipe off any remaining scuzz with a wet paper towel. For cast iron, wipe the clean grates down with vegetable oil.
- Keep your grill covered when it’s not in use!
Here’s the damage from the last few years
I was obviously not on my best basic-upkeep game with this grill. So when we flipped that lid up to cook for the first time this year I was sort of horrified.
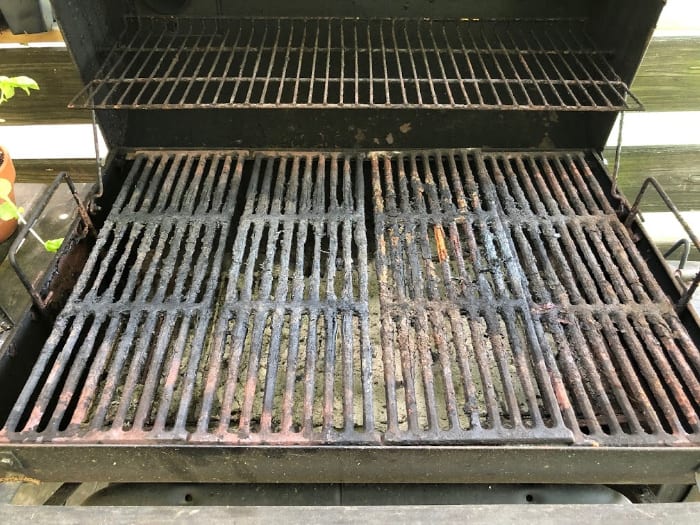
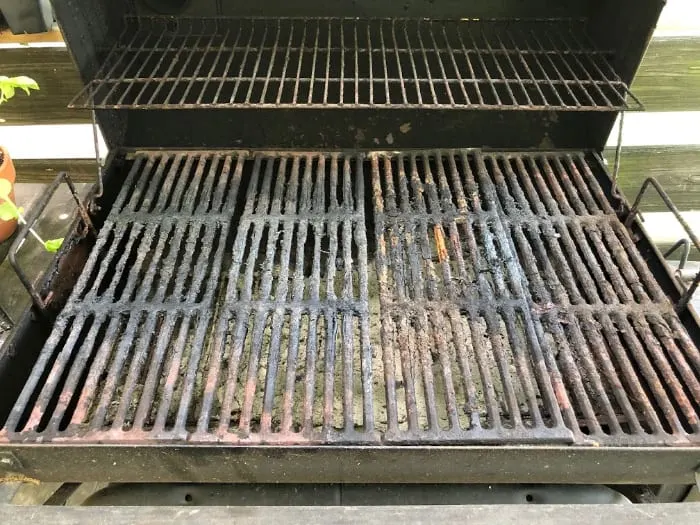
I mean … you should definitely not put food on here.

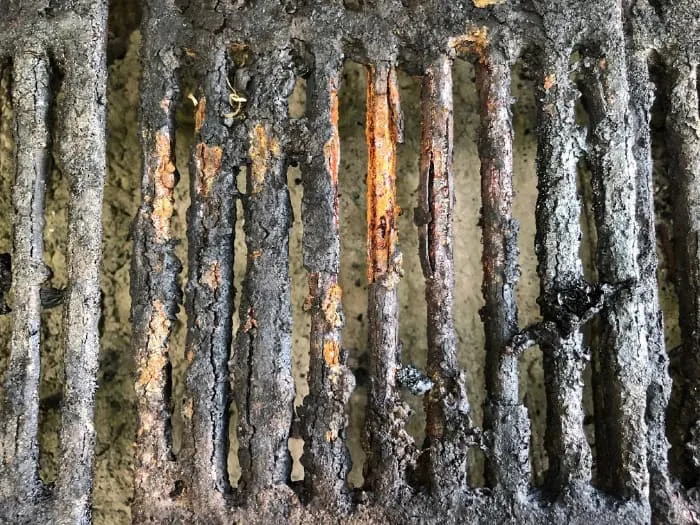
And it wasn’t just the grates.
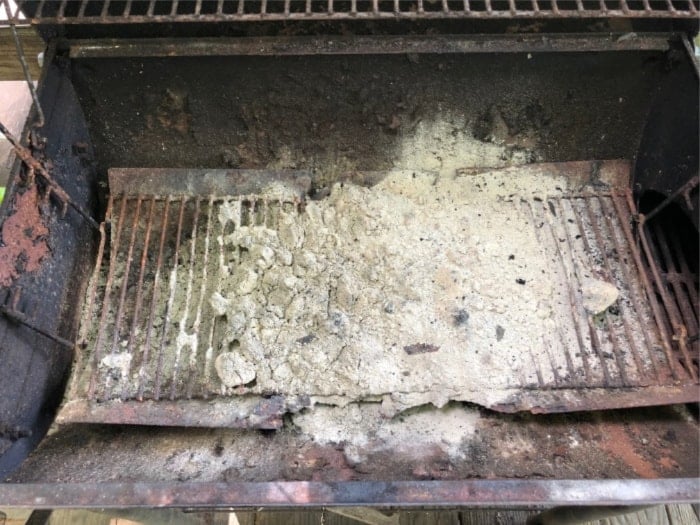
Gross.
How to Makeover a Charcoal Grill
In short? Order some stuff. But first there’s some prep work. Start by tossing your old grill grates and ash pan. No one needs that kind of negativity in their lives.
- Scrape out the inside of the grill the best you can. Ash and grease combines to make a really corrosive combo, so getting the metal on the inside of the grill nice and clean is important.
- You may also want to sand the rusty gunk off the hooks that hold the ash pan in place
That’s it! Order these parts and you are done.
TIPS
- Some of these parts specify that they are for a gas grill. They still work well here and they fit!
- You are switching from cast iron to porcelain grill grates. Be sure to read the cleaning instructions. You want to be sure not to chip the porcelain coating or you will be right back to having a rusty mess.

How to Make Over a Charcoal Grill
Grilling is messy and your grill doesn't always look its best after a few years of wear and tear. But you can makeover a charcoal grill with just a few easy steps
Tools
Instructions
- Using the painter's tool, scrape down the inside of the grill to remove all the big pieces of grill gunk and loose bits of paint.
- Use the wire brush to scrub any really difficult or rusty spots. If you have a shop vac, use it to remove all the particles you've loosened so that the inside of the grill is nice and clean. You can also use a dust pan and brush.
- Install the ash pan by installing it on the existing hooks.
- Place your new grill grates.
- Enjoy cooking on your "new" grill! Be sure to scrape down the grates after use, and empty the ash pan once the grill has completely cooled. Cover your completely cooled grill until the next time you want to use it!
Notes
A Shop Vac is handy for cleaning up all the scraped bits from the inside of the grill.
Recommended Products
As an Amazon Associate and member of other affiliate programs, I earn from qualifying purchases.
-

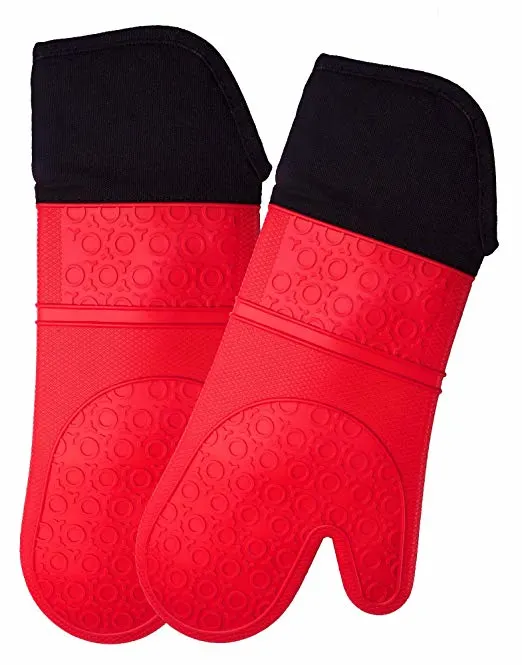 Extra Long Professional Silicone Oven Mitt - 1 Pair - Oven Mitts with Quilted Liner - Red - Homwe
 -
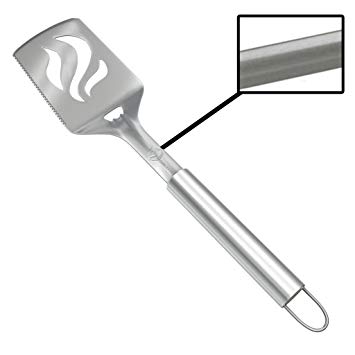
 Barbecue Spatula With Bottle Opener - HEAVY DUTY 20% THICKER STAINLESS STEEL - Wide Metal Grilling Turner for Burgers Steak & Fish - Large BBQ Grill Handle - Best Cooking Utensils & Accessories
 -

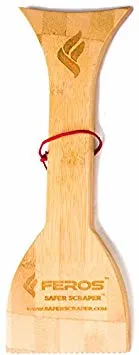 FEROS Safer Scraper - Wood BBQ Wooden Grill Cleaner - Cleans top and Between Barbecue grates. Use to Oil & Clean Barbeque. Sustainable Replacement for Wire Bristle Brush